Back to School Triangle Ruler Silhouette: A Practical Design Asset for Educators, Creators, and Small Business Owners
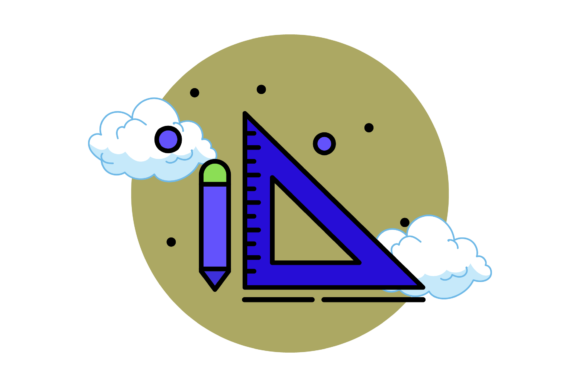
If you have ever needed a clean, scalable graphic element for a school-related project, you already know how much time gets lost searching for the right vector. The Back to School Triangle Ruler Silhouette is a focused design asset built for that exact moment. It gives you a crisp silhouette of a classic triangular ruler, ready to drop into any layout, label, worksheet, presentation, or product mockup. Whether you run a small print shop, design classroom materials, or build digital products for educators, this asset eliminates the friction of creating a ruler graphic from scratch.
This article walks through what the silhouette actually includes, where it fits into real workflows, and how to integrate it smoothly into your own process. The goal is practical execution, not abstract praise.
What the Back to School Triangle Ruler Silhouette Actually Contains
The asset comes as a bundle of six digital files, each cropped to a 1920 x 1280 pixel canvas. You receive the following formats:
- AI file – Adobe Illustrator native format, fully editable vector paths.
- EPS file – Encapsulated PostScript, compatible with most vector editing software.
- SVG file – Scalable Vector Graphic, ideal for web use, responsive design, and direct embedding.
- DXF file – Drawing Exchange Format, suitable for CAD software and cutting machine workflows.
- JPG file – High-resolution raster image for quick placement or preview.
- PNG file – Transparent background raster image, ready for layering in presentations or social media graphics.
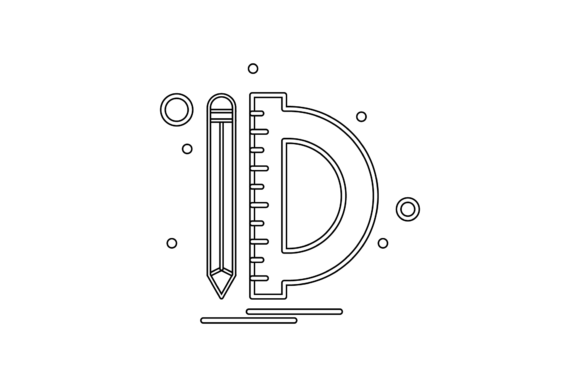
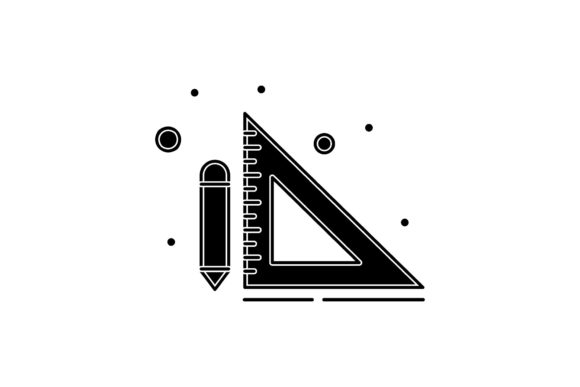
Every vector file is editable, meaning you can recolor the silhouette, resize it without quality loss, or combine it with other elements. The design itself is a straightforward outline of a triangle ruler, likely with measurement markings implied or included, depending on the specific variant. The silhouette format means you work with a solid shape rather than a complex filled illustration, which gives you flexibility for color overlays, patterns, and negative space effects.
Where This Asset Fits in a Broader Creative or Product Workflow
Design assets like this one are not standalone products. They are components that slot into larger processes. Understanding where the Back to School Triangle Ruler Silhouette belongs in your pipeline determines how much value it delivers.
Before a Project: Planning and Asset Sourcing
If you develop educational printables, planners, or back-to-school marketing materials, you typically spend the early phase gathering consistent visual elements. Instead of drawing a ruler from memory or hunting through generic icon sets, you can load this silhouette into your library upfront. Its vector format means you can establish a unified style guide for all ruler-related graphics before production begins.
For small business owners creating a product line, this stage is critical. You might want the silhouette to appear on notebook covers, stickers, or laminated bookmarks. Knowing you already have a clean SVG or AI file prevents last-minute scrambling for artwork that matches your brand.
During a Project: Integration with Other Tools and Assets
The silhouette interacts naturally with several common design tools and workflows:
- Adobe Illustrator and Affinity Designer – Open the AI or EPS file, adjust anchor points, apply gradients, or combine the ruler with other school-themed silhouettes like pencils, globes, or apples.
- Silhouette Studio or Cricut Design Space – Use the DXF or SVG file to create cut lines for physical vinyl, cardstock, or fabric projects. The triangle ruler silhouette works well for stickers, stencils, or layered paper crafts.
- Canva or PowerPoint – Import the PNG with transparency for a quick drag-and-drop overlay. While you lose vector editing inside these platforms, the high resolution keeps edges sharp for on-screen presentations or print-ready PDFs.
- Web and Email Design – The SVG file loads cleanly at any screen size. Use it as a bullet point icon, a section divider, or a subtle background element in newsletters aimed at teachers or parents.
Because the canvas is 1920 x 1280 pixels, the proportions fit standard widescreen layouts. That matters if you produce video thumbnails, social media posts, or slide templates. You can place the ruler silhouette without immediately needing to rescale the canvas.
After a Project: Archiving and Repurposing
One of the overlooked aspects of digital assets is their lifespan. A well-made vector silhouette does not expire. After your initial project finishes, archive the AI or SVG file in your asset library. Months later, when a client requests a complementary design or you expand a product line, you can open the same file and modify it without starting over. The Back to School Triangle Ruler Silhouette becomes a reusable resource, not a one-use download.
For educators, that means you can build an entire year of classroom materials around a single consistent visual. Worksheets, bulletin board cutouts, labels, and digital assignments all share the same ruler shape, reinforcing visual cohesion for students.
Practical Implementation Tips
Getting the most out of this silhouette comes down to a few straightforward choices during setup and editing.
Check Software Compatibility Early
The six-file bundle covers virtually every design environment. But confirm which format your primary tool prefers before you start. For example:
- If you work in a web-first tool like Figma or Sketch, SVG is usually your best bet.
- If you run a laser cutter or vinyl plotter, DXF often preserves coordinate data better than SVG.
- If you collaborate with someone who uses older design software, EPS offers the widest backward compatibility.
Having all six formats gives you fallback options. If one file does not import correctly, try another format before troubleshooting. That itself saves minutes per project.
Organize by Format and Use Case
A small but effective habit: store vector and raster files separately. Keep the AI, EPS, SVG, and DXF in a folder labeled "Vectors – Editable" and the JPG and PNG in "Rasters – Final." This way, when you need a quick preview, you grab the JPG. When you need to edit, you open the AI file. The distinction reduces the chance of accidentally editing a flat raster and losing scaleability.
Adjust Stroke and Fill for Your Medium
The silhouette, by its nature, is a filled shape. But many real-world applications demand variation:
- For print materials, you might want a thick white outline around a solid ruler to create contrast on a busy background.
- For laser cutting, you need a continuous cut line. Open the SVG or DXF, remove the fill, and set a stroke width that matches your material thickness.
- For digital coloring pages, invert the silhouette so the ruler outline remains and the interior is transparent. Students can color inside the shape.
Vector editing makes these adjustments trivial, provided you know where to find the stroke and fill panels in your software.
Combine with Other Silhouettes for Thematic Consistency
If you are building a full back-to-school bundle, consider pairing this triangle ruler silhouette with other school-themed vectors. A pencil, a book, a globe, or a graduation cap can all share the same line weight and silhouette style. The result is a cohesive set that looks professionally curated rather than cobbled together from different sources.
For example, a teacher creating a "Math Tools" poster might combine the ruler silhouette with a protractor silhouette and a compass silhouette. The united style communicates a clear subject identity.
Real-World Workflow Examples
To make the integration clearer, here are three concrete scenarios using the Back to School Triangle Ruler Silhouette.
Example 1: Small Business Owner Creating Sticker Packs
You run an Etsy shop selling vinyl stickers for classroom decor. You open the DXF file in Cricut Design Space, resize the ruler silhouette to 2 inches tall, and mirror it before cutting adhesive vinyl. You decide to offer the ruler in five colors. Because the DXF retains exact vector geometry, you simply change the fill color in your cutter software for each variation. No redrawing required. The same silhouette becomes the foundation for individual stickers, sheets, and even iron-on transfers for fabric pencil cases.
Example 2: Freelance Designer Building a School Newsletter Template
A client asks for a monthly parent newsletter with a consistent back-to-school theme. You place the SVG version of the ruler silhouette into the corner of each newsletter header. Because SVG scales perfectly, the ruler stays crisp whether the parent opens the PDF on a phone or prints it on A4 paper. You add a semi-transparent ruler silhouette as a watermark behind the text block. The asset integrates with the rest of the layout without forcing you to adjust resolution or cropping.
Example 3: Educator Creating Differentiated Math Worksheets
A third-grade teacher needs ruler illustrations for a measurement unit. She opens the AI file in Adobe Illustrator, duplicates the ruler silhouette onto multiple artboards, and rotates each copy to show different angles. She adds measurement labels along the edge using the ruler silhouette as a visual guide. The result is a set of five worksheets where the ruler image remains identical in style, helping students focus on the measurement concept rather than distracting graphic changes.
Long-Term Considerations for Usability and Quality Control
When you add any digital asset to your workflow, long-term usability depends on a few quality checks upfront.
- Anchor point efficiency. Open the AI or EPS file and inspect the vector paths. Silhouettes should have clean curves without excessive anchor points. Too many points can slow down editing and cause jagged scaling. If the file is well-made, you should be able to edit it smoothly even on a modest laptop.
- Canvas size versus intended output. The 1920 x 1280 canvas works well for screen-based projects. If you plan to print at large sizes, verify that the silhouette within that canvas has enough detail to scale up. With a vector format, resolution is not a concern, but the proportions of the ruler to the canvas matter if you need a tall, narrow graphic.
- File naming and metadata. After downloading, rename the files consistently with your own naming convention. For instance, "ruler-silhouette-ai-v1.ai" and "ruler-silhouette-svg-v1.svg" make it searchable months later.
Integrating Smoothly into Your Routine
The real value of a focused asset like the Back to School Triangle Ruler Silhouette is not in any single feature. It is the reduction of friction between idea and output. Instead of opening a vector editor and sketching a ruler from reference images, you open a file that is already clean, scaled, and ready to modify. That saves a measurable amount of time, especially when you produce multiple projects under deadline pressure.
To integrate this smoothly into your own routine:
- Place the vector files in a dedicated asset folder organized by theme (e.g., "School Graphics / Geometric Tools").
- Add the PNG or SVG to your quick-access design library if your software supports asset panels.
- Create a short text file or note specifying which format to use for which output type. Keep it next to the files.
- Test the silhouette in your primary tool immediately after download. Confirm that the colors, stroke, and scaling behave as expected. A two-minute check now prevents a stalled workflow later.
Ultimately, the Back to School Triangle Ruler Silhouette is a component, not a complete solution. Its effectiveness depends on how well you prepare your environment and how clearly you define its role in each project. With the six-file bundle, you have the flexibility to use it across print, web, cut, and screen contexts. That flexibility, combined with clean vector geometry, is what makes it a practical addition to any creator's toolkit.